Building a straw bale composting toilet
Part 5 of the Great Composting Toilet Project - more work on the roof, the walls are rendered and limewashed, the toilet put in place and it's ready for use.
After a break, during which both we and the thatchers were all very busy, we met up again to do some more on the roof. When we'd left it before, the sides of the roof were neat enough, but the top was still tufty and needed to be battened down to keep it waterproof and help it to last longer.
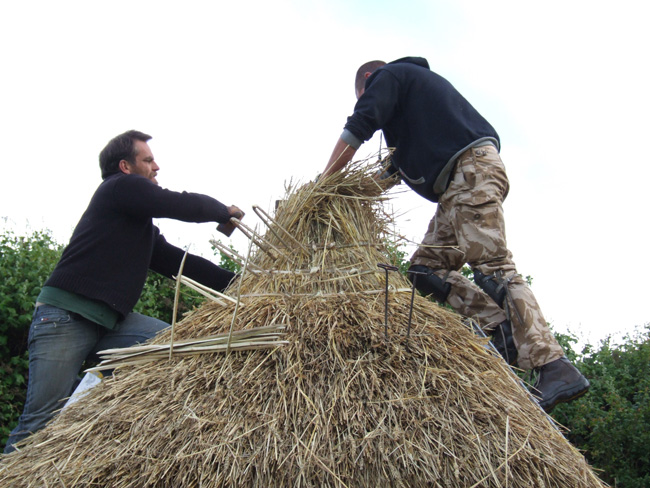
Finishing the roof thatch
It was a quick job and Matt and Dave ended up with a neatly domed roof that should last for many years.
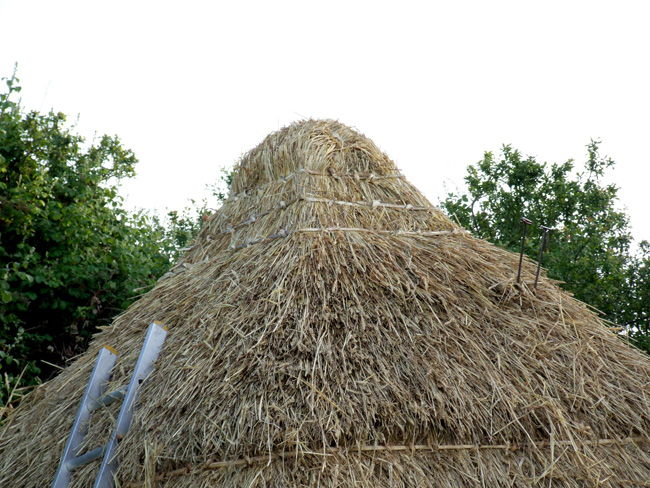
Finished roof thatch
Meanwhile, Karl was involved in the all-important job of building the actual toilet. We were going for simplicity and low cost, so all the materials used were either scavenged or made from things we already had. Fortunately Karl had a collection of screws and hinges left over from another job, so we didn't need to buy any.
For the box itself, he used marine plywood that had once been part of a chicken run. Marine plywood is often used in making boats and is resistant to rot, so it will be good to use in an outside toilet building. Cleaned up and sanded a bit, it was fine.
A box was made and a hinged lid with a hole cut out of it was fitted. Then it was sanded and stained, using some left over wood stain that we found in the garage.
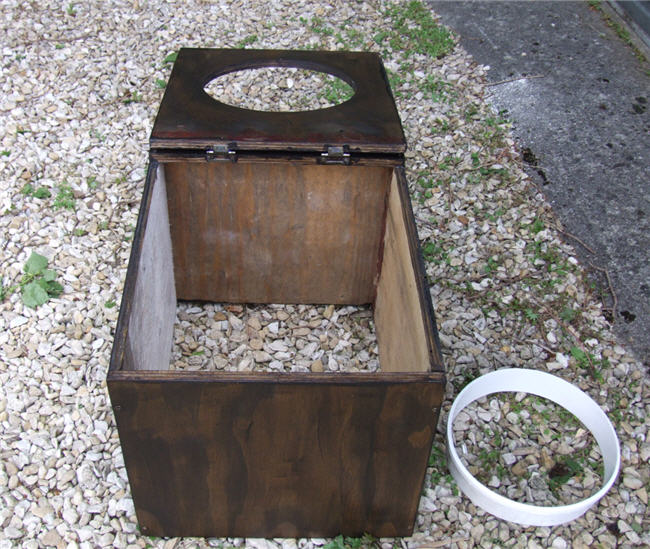
The toilet box during construction. The stabilising corner supports haven't yet been fitted in this picture.
The toilet bucket will sit inside the box. To make sure that everything goes into the box and there are no unintended splashes, a plastic sleeve was fitted into the lid. This will sit just inside the bucket. The sleeve was the top part of a bucket that had previously held fertiliser and the toilet bucket itself was one we found in a barn and which looked like it had been sitting there for several years. Given a good scrub, it fitted nicely.
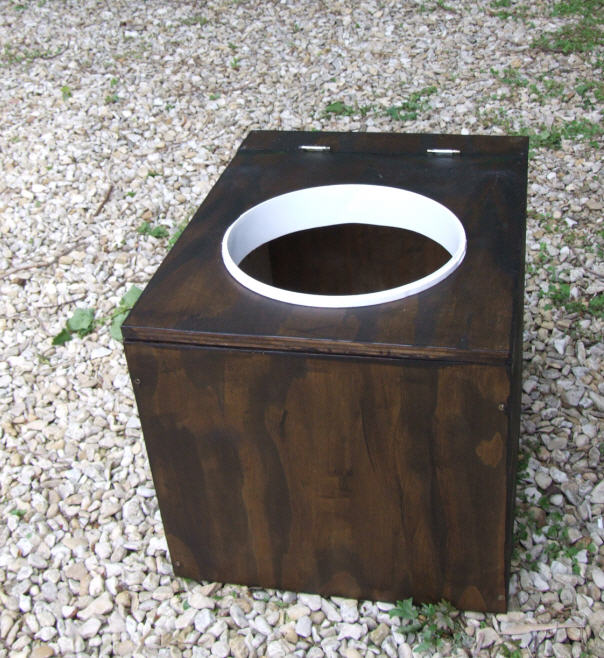
The box with the sleeve fitted
Then Karl started on the seat. Again, this was cut out of marine ply and the template was cut out of an old cardboard box. We used our toilet seat at home as the model. The bit and brace drill, donated by Karl's step father, came in very useful during the whole job.
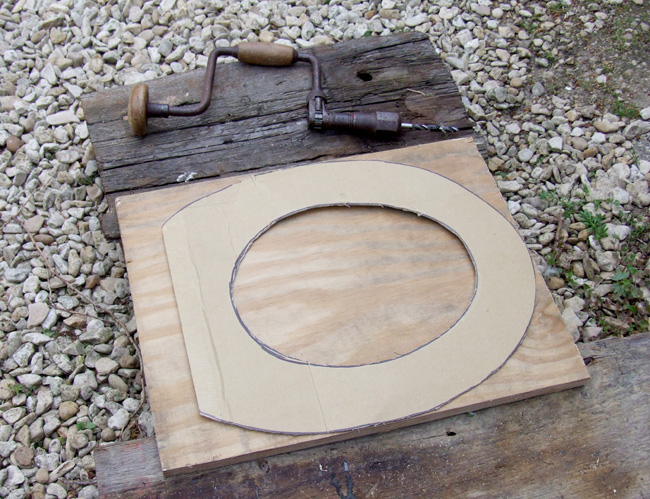
Toilet seat template
The seat was fitted and a hinged lid added. Then the edges were sanded smooth and stained the same as the rest of the toilet box.
Karl fitting the seat and lid
Before the toilet box could be put in place, the toilet building needed to be finished and a floor put in. Not a fancy floor - a thick layer of crushed clay and earth was used and pounded hard. This is how many floors were made at one time in the UK and they are still used in many countries today.
Before the walls were rendered, the straw bales needed a good soaking to help the render stick. The render was a mix of clay and sand and it was spread on in two layers and left to dry. During the wait, a stable-type door was made up from old pallets and hung in place. The good thing about a door like that is that you can sit and look at the view and if left open while you're sitting, it will also show that the toilet is being used.
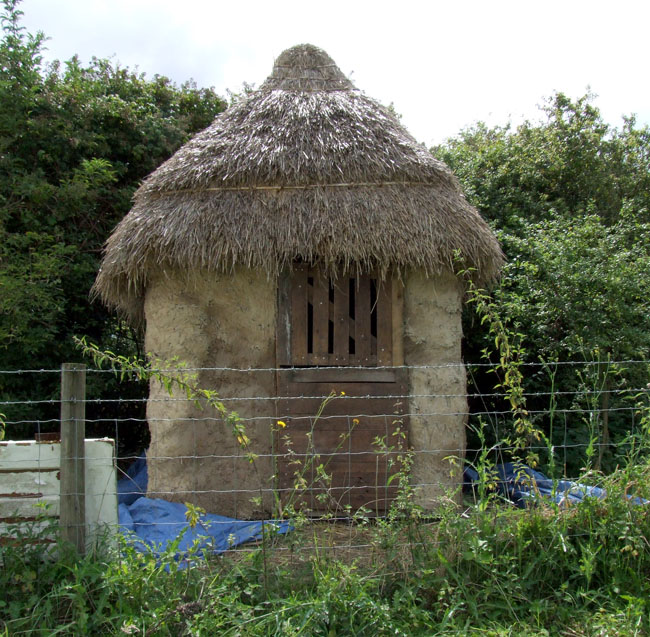
The newly rendered compost toilet building with the door fitted
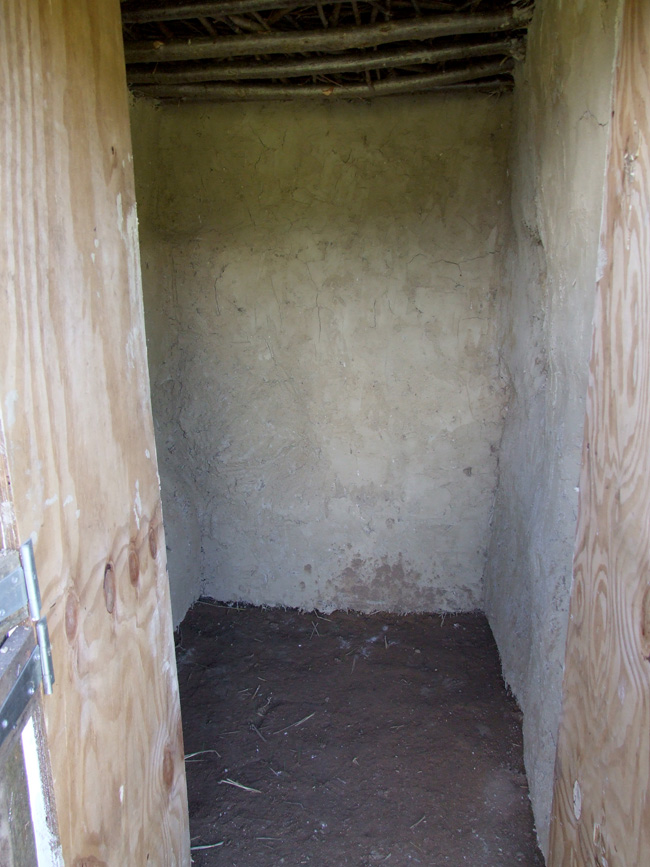
The internal render and the earth floor
Finally, the day came when the outer walls were ready to be limewashed. Basic lime wash is simply lime and water and it dries to a hard, bright, white finish. Its advantages are that it sticks well to clay and sand render, its alkalinity deters insects from boring into it, it is solvent-free and it's cheap.
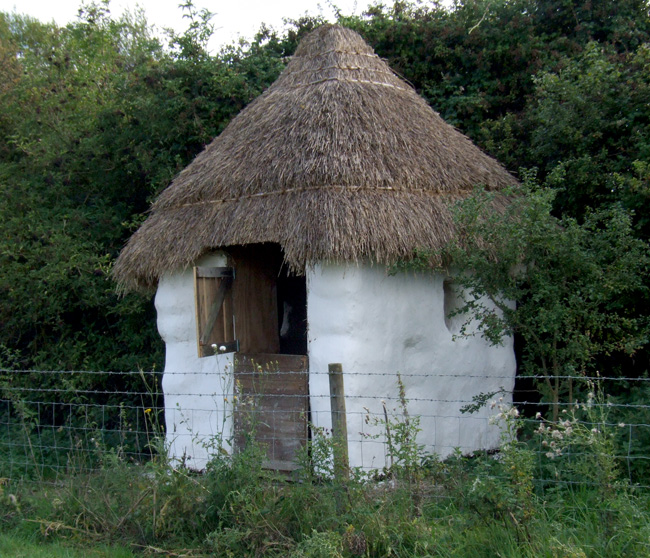
Limewashed composting toilet
And here it is. You can see that the thatch above the door has been cut round to neaten it up and stop it catching the top of the door. Doesn't it all look fine. Isn't that just the sweetest little outside toilet you've ever seen!
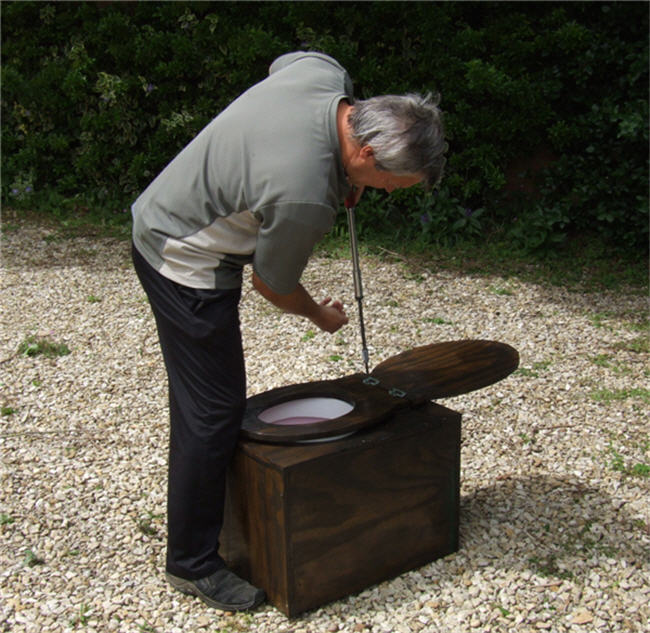
The final part was to put the toilet in place and put a bucket of sawdust next to it.
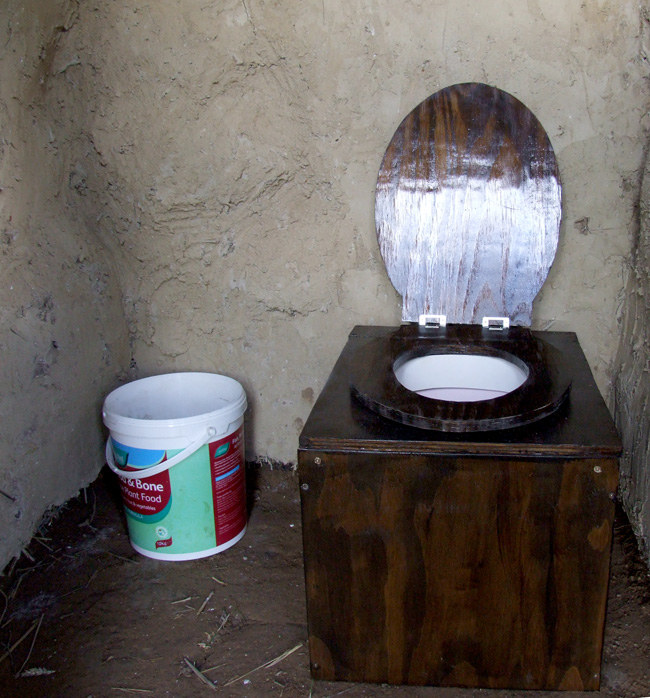
Ready to use
All it needs to be ready for use is a layer of sawdust in the bottom of the toilet bucket - this prevents splash-back. A bucket of water and a brush has been set next to the composting bay where the contents of the bucket are tipped, so the bucket can be washed out after emptying. An old pitchfork - donated - has been set by the bay that holds the covering material.
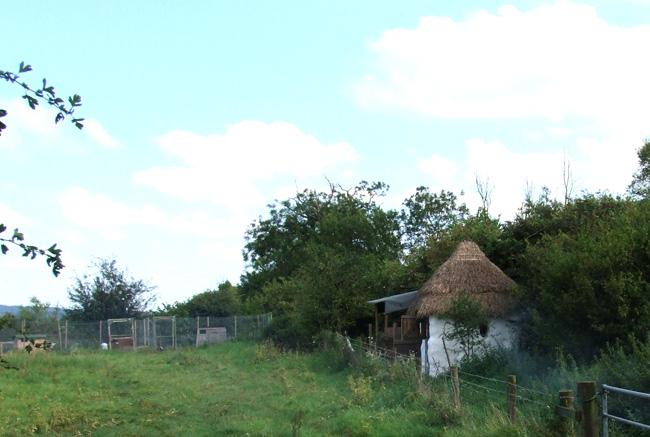
And there it sits, near to the chicken run and next to a hedgerow of blackthorn. Long may it last!
Part 1 Part 2 Part 3 Part 4 Part 5
Garden Learning Projects - Overview
© Copyright Miranda Hodgson 2009